A professional, well-designed itinerary is key to converting requests into bookings. In this article, we’ll show you how to use the Style Design Studio to create a unique look for your magazine style PDF, digital pages, and mobile quotes in one centralized place.
To begin designing your brand identity, you must first access the correct area within your account.
Go to Settings.
Select Style Design Studio under the Quote & Tour Settings menu.
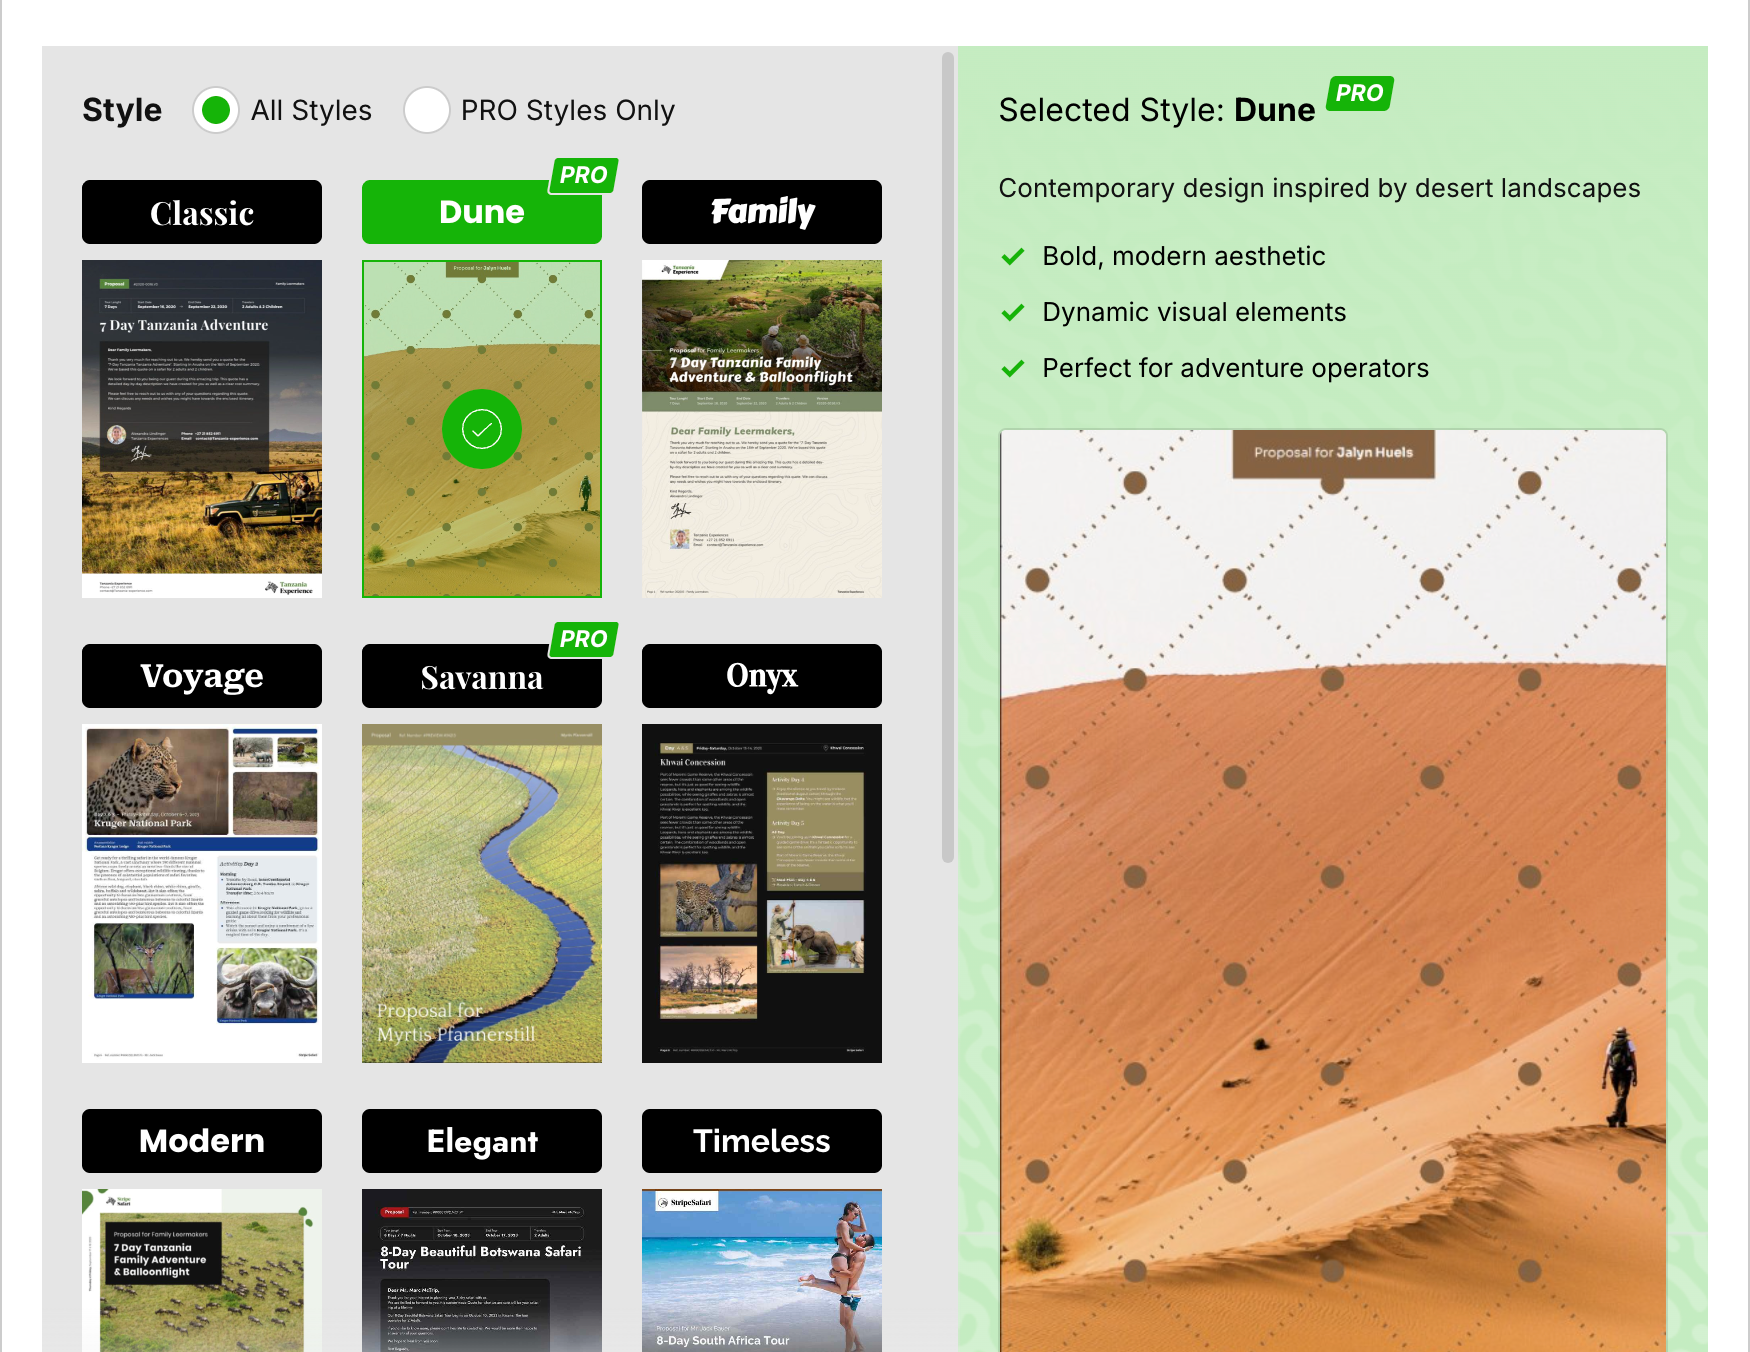
View the available theme presets like Modern, Elegant, or Kalahari.
Select the theme that best fits your brand's aesthetic.
Themes are mostly presets, you can still adjust a lot of settings. See below.

Once you have chosen a base style, you can refine the specific visual elements to match your company's branding. Preview at anytime and make sure to save and apply when you are happy with the result. If you have a lot of tours online already with a different style be sure to read the last paragraph on saving and applying the style.
Select a Brand Color from the palette or click Choose Custom Color to enter a specific hex code.
Some Basic Styles for FREE users will allow for selecting of a Spot or Background.
Choose a Background Color for your pages. This is usually a (lighter) color supporting your main brand color.
You can freely choose any and even click Choose Custom Color, this will be saved separate from the normal palette’
Select your preferred Title Font
Select your preferred Body Font
Your cover page is the first thing a client sees when they open your Quote. In the Style Design Studio, we have made it simple to choose a visual direction that matches your brand's unique style. This add a full photo (or illustration) cover to your proposals.
No Cover: Select this if you want to skip the cover page entirely. You will still have the Cover Letter Option the same as the normal base Styles use.
Photo Cover: Choose this to use high-quality imagery as the primary focus of your cover.
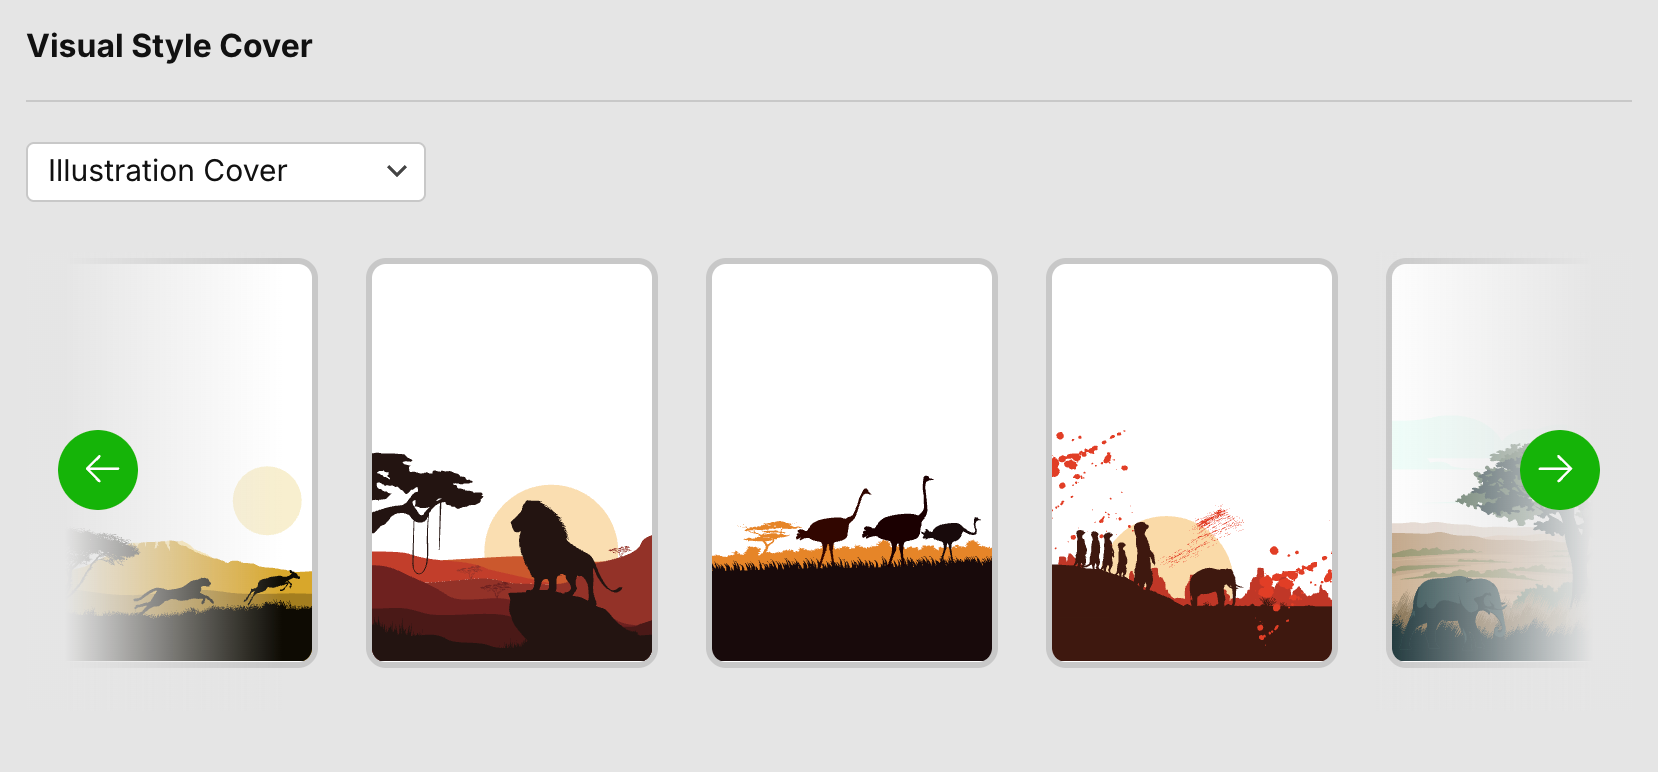
Illustration Cover: This option uses stylized illustrations for a more artistic feel. These will also use your brand and background color.
Your Cover Photos: Select this to use images you have uploaded to your own library. If you have none you can upload them here as well. You can be as creative as you like, only remember that at the top it will have the clients name and the proposal label (different location per style).
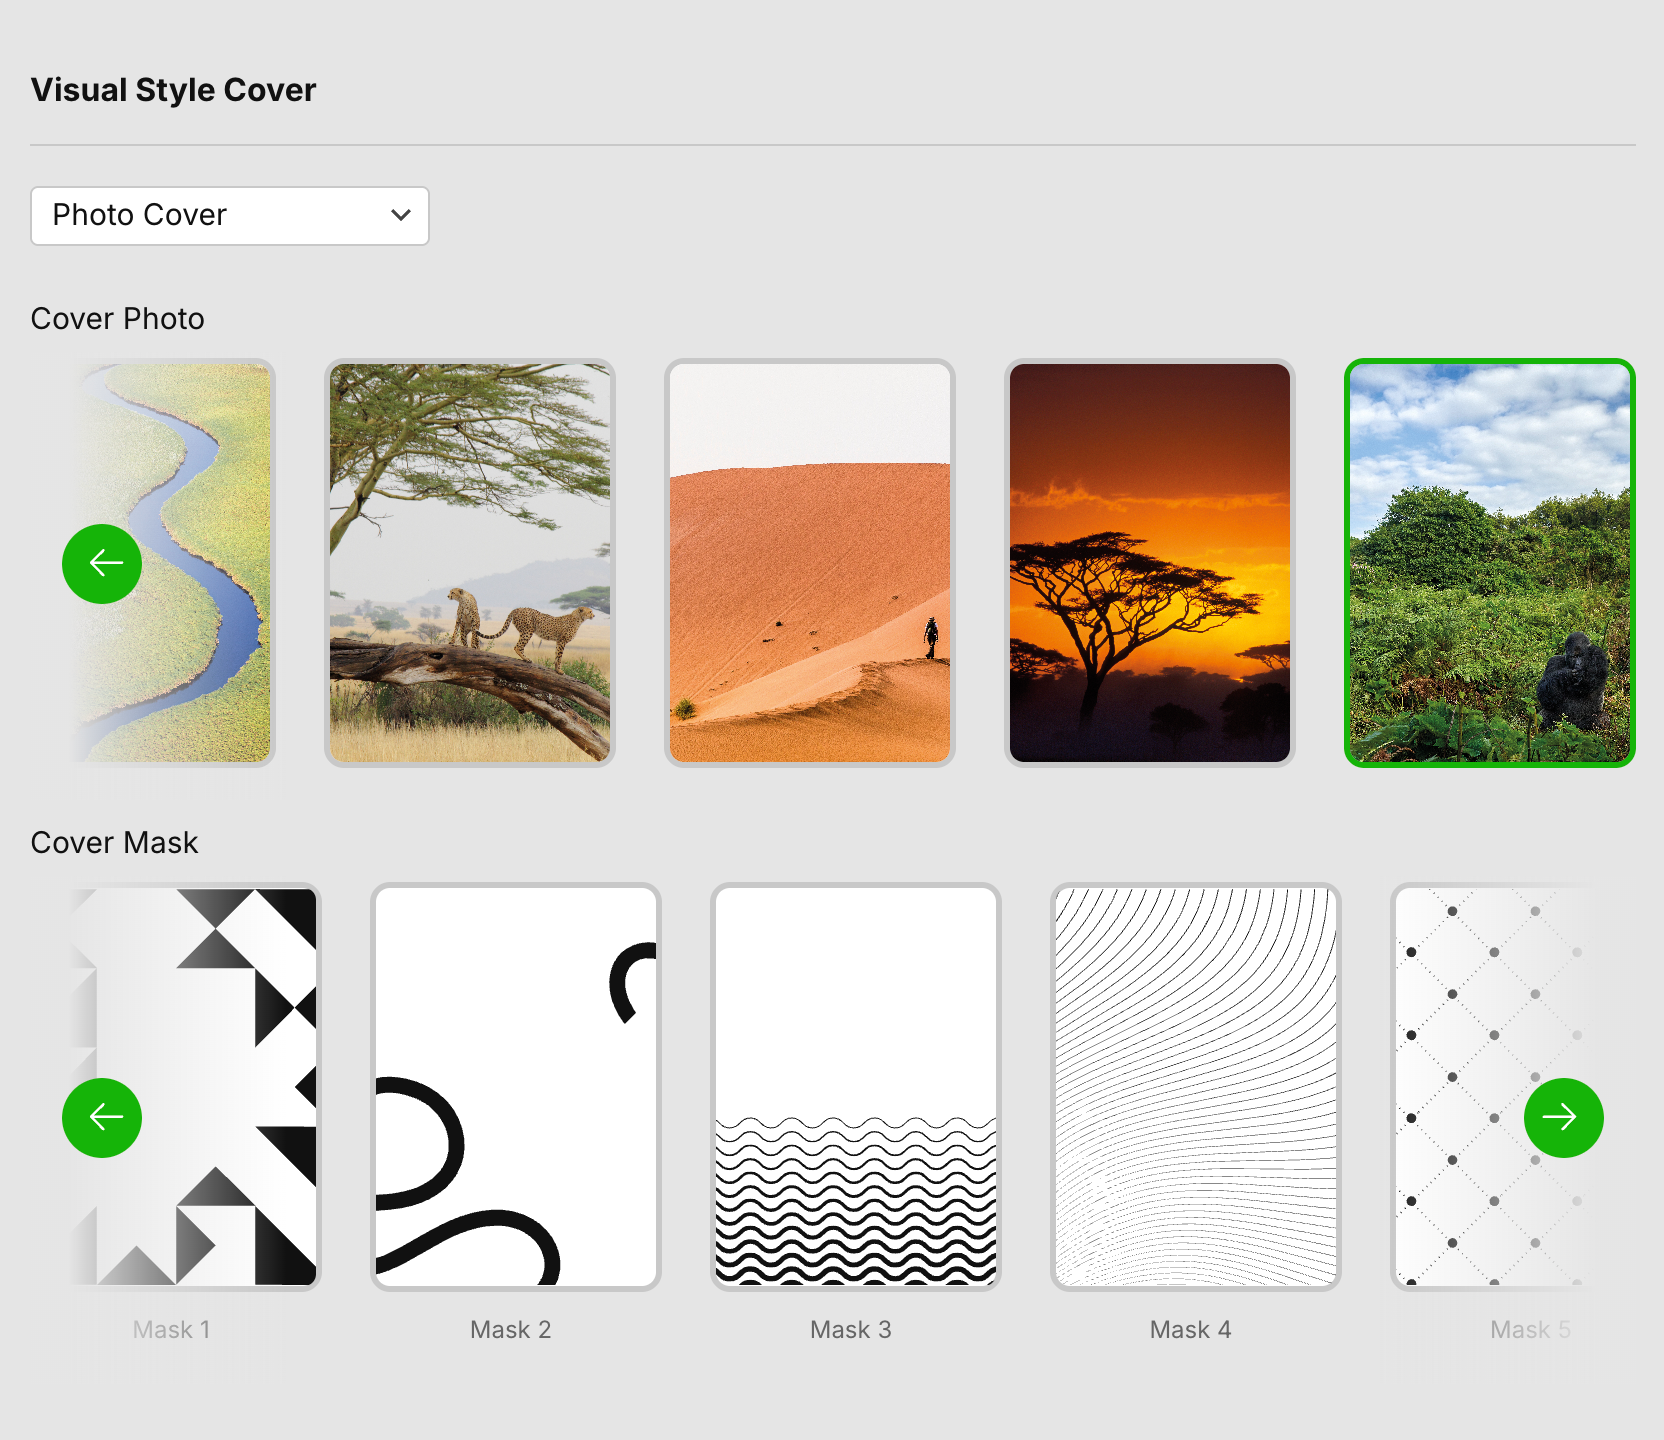
If you select the Photo Cover option, you can further customize the look by applying a Cover Mask.
Select Photo Cover from the Visual Style Cover dropdown.
Go to the Cover Mask section.
Click on a mask design to overlay a pattern or shape onto your cover photo.
If you want, you can create a default setting for your Digital Headers. By default, the digital header is the Cover Letter Image as this is most suited for landscape layout of screens. You could use the above-selected Full Cover Image, but remember web screens have this landscape resolution, so mostly only the bottom third will be shown.
You would really only want to do this if you have videos you want to show by default in the pop-up option, like a company video, introduction video or a video that also has voice over.
If you want to add videos per tour type, do this on the tour template level or even the quote level. Leave it set to "No" here.
More details on using the different options for Video Headers can be found in this article.
Depending on the Base Theme different Style design option can be available.
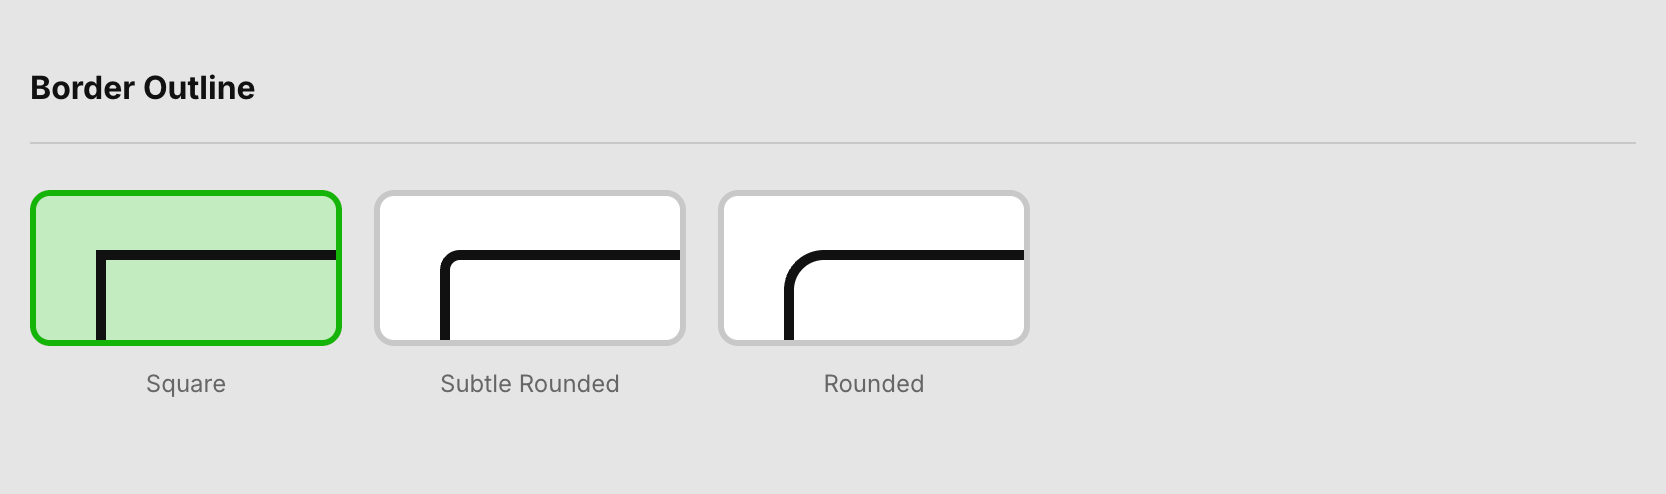
Pick a Border Outline style for your content blocks. Images, content area and tables will use the outline you select here. Select what suits your brand.
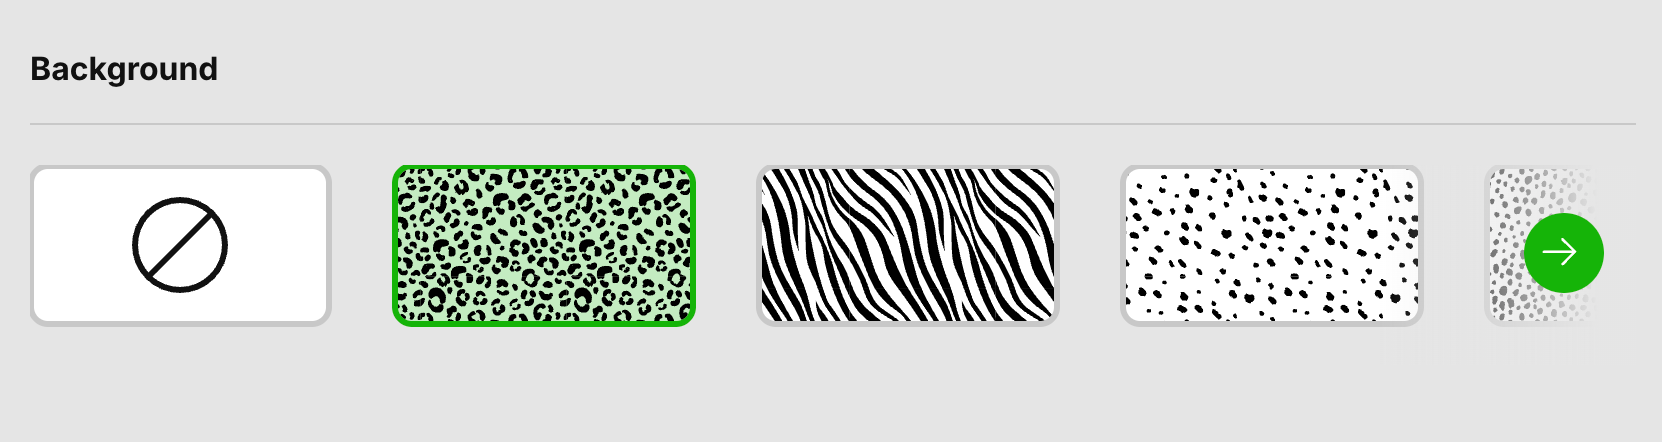
Select a Background or Spots pattern if you wish to add texture to your pages.
Examples of background choice:
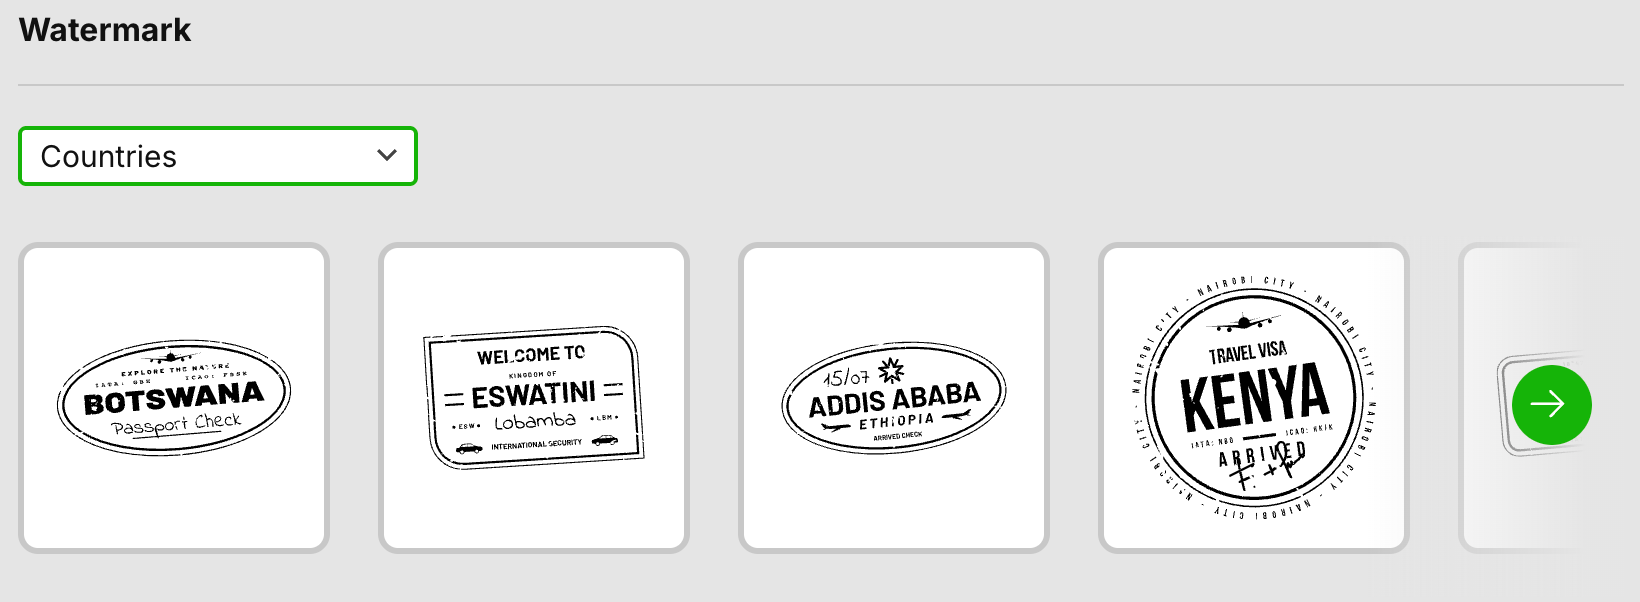
Select Watermarks from different categories we have preloaded for you. These are added to pages as an extra design detail. The placement is dependent on the base theme.
You can even upload your own Watermark for extra branding of your logo or another branding asset you use.
Examples (there are different categories to choose from)
Note: These style settings act as a "master" design. SafariOffice will automatically apply these choices to your PDF and Digital Page outputs, streamlining your workflow.
If you wish you can even change any of these setting per tour or quote.
Making the cover, for example, even more fitting for the specific tour.
Read more below on saving and applying style.Saving the Style
Click Save at the bottom to save your style.
In the next window you get to choose whether to apply these styles settings directly to all Tour Templates and Draft Quotes.
If you leave these choices unchecked no current proposals and Tour Templates will be updated and only new ones will use this Style.IMPORTANT TIP: When designing a new style and when you have many tour templates online already, it is advisable to first check the new Design on one of your tour templates to see the effect on the layout gridHow to test a Style safely on your Tours:
Open any existing tour you feel is a good example (make a copy if you wish for testing).
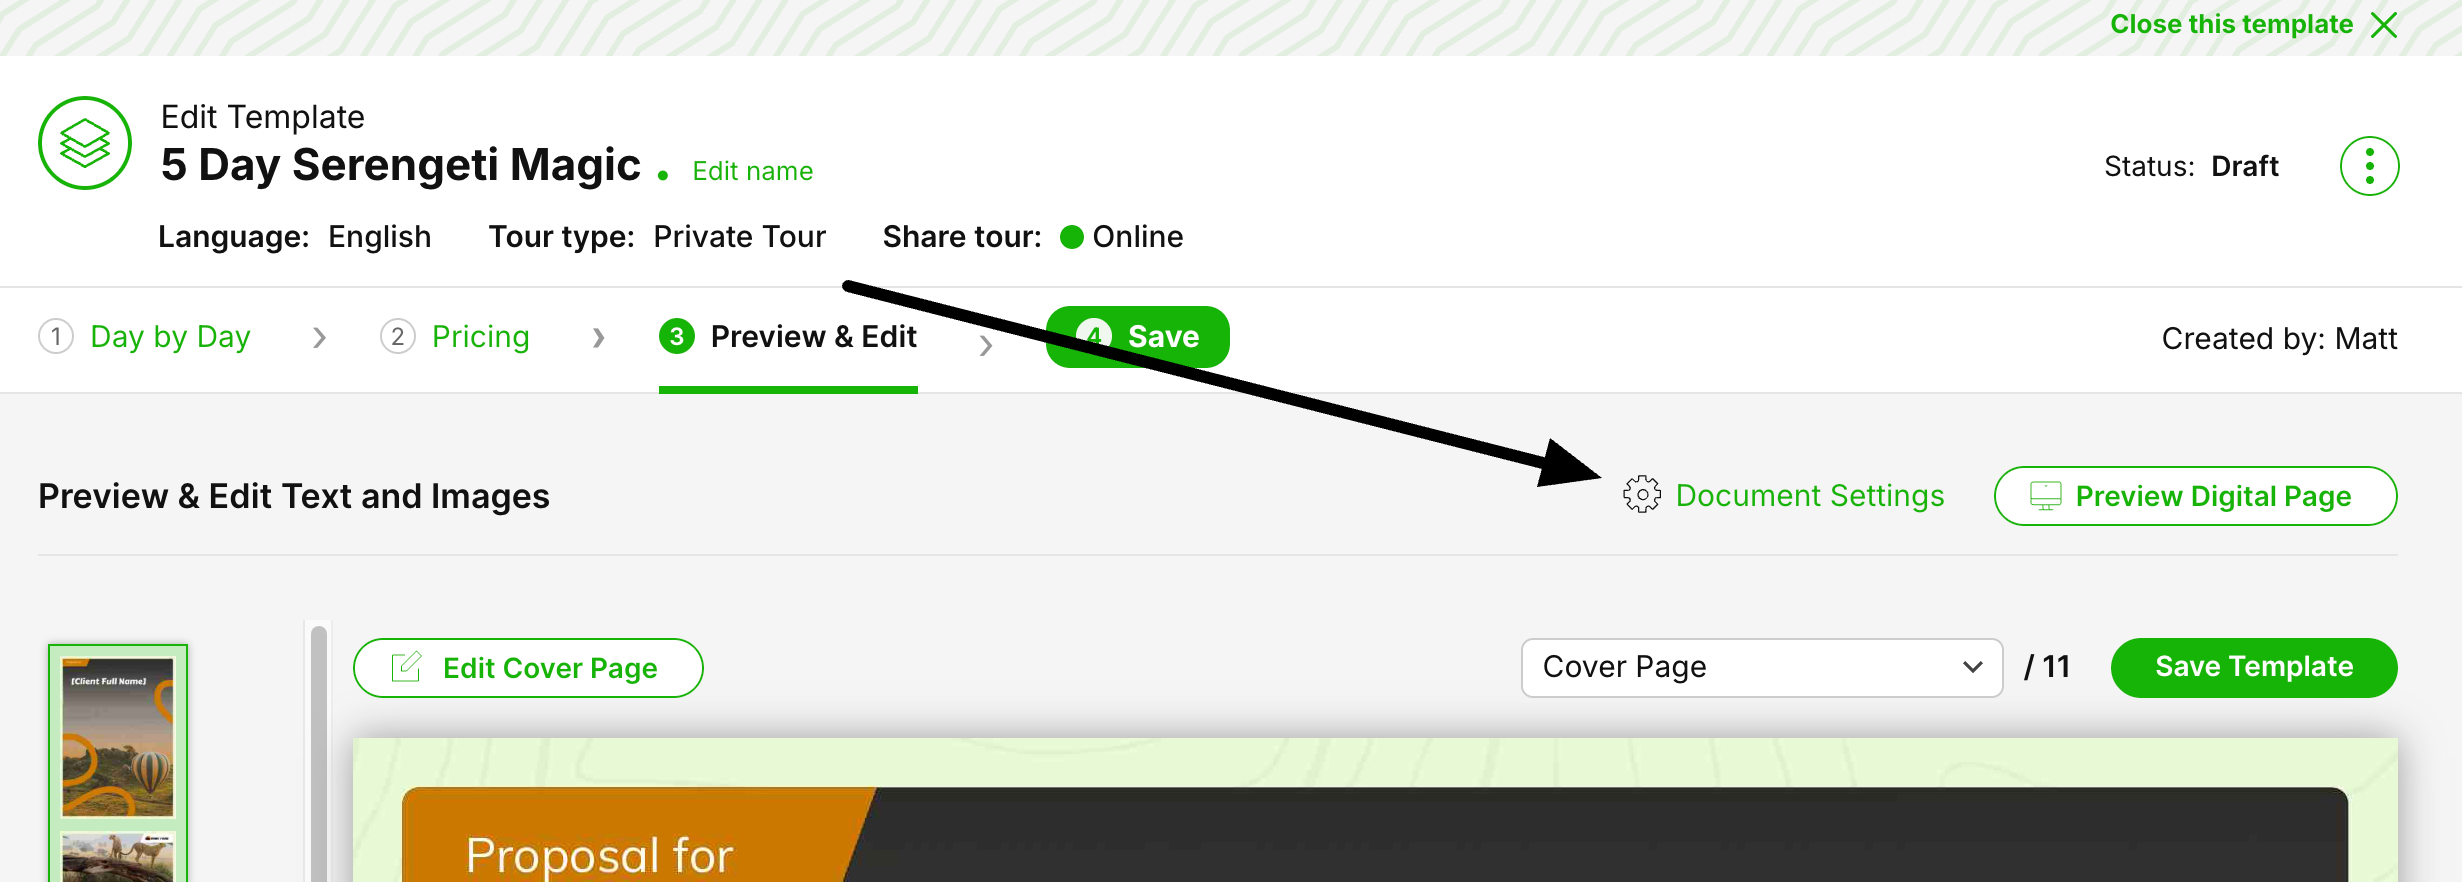
Go to Step 3: Preview & Edit.
Open Document Settings at the top.
Use the Style Settings in the second tab and make changes to see the effect on that specific tour only.
Make adjustments to check the effect on your layout so you know if you are happy with the basis setup.
Once done return to the Settings and apply to all your tours.
If you had already setup your Style you need to make a little change (for example a font, and back again) to activate the Save button again to access the modal to apply to all tour templates and draft quotes.
Previewing Your Design
At any time you can Preview your Design with a demo Tour with demo content.
Use the buttons you find hoovering on the bottom of the screen.Related Articles
Using Video Headers
About upgrading your digital page with videos in the header